Table of Contents:
There is this moment you don’t forget. You are wiping down the countertop, maybe humming, possibly thinking about lunch, and your fingernail catches on something that was not there yesterday. A tiny snag, a rough edge, a little crater you swear you did not sign up for. You look closer. And yeah, there it is. A chip has appeared in your once-smooth laminate countertop. It’s remarkable how something the size of a pencil tip can bother you every time you walk into the kitchen.
Most people hop online at that point and search for the fastest way to fix a chip in a laminate countertop, hoping there is a magic trick. The truth is, it is not magic. It is a simple process with the right repair kit, a bit of patience, and a somewhat steady hand. You can handle your repair, especially if the damage is not too extensive. And if you ever need professional surface care for other materials, places known for granite cleaning, marble polishing, or concrete floor polishing in Chicago can help you bring your space back to life.
This guide breaks down everything you need to know, basically from the tiny chip to the filler to the last swipe of paint and seal. If you have wondered whether to repair or replace, how to match colors, or how long to let the coat dry, you are in the right place.
Let’s get into it.
What Are Laminate Countertops?
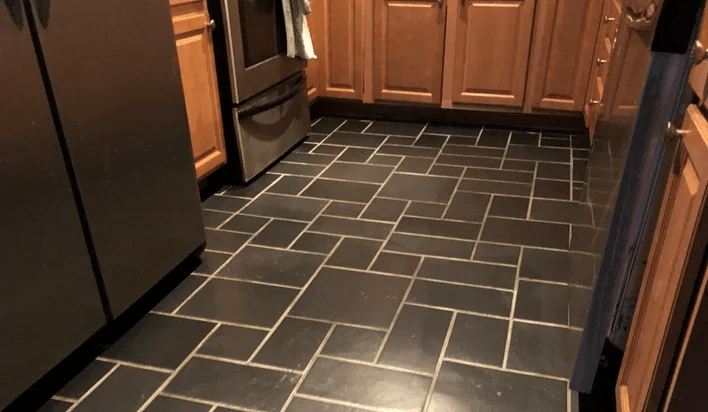
Laminate countertops are built from layers of paper mixed with resins and pressed onto a counter surface made of particleboard or another base material. You see them every day in kitchens, laundry rooms, break rooms, and even in older furniture or rental houses. They are lightweight, budget-friendly, and surprisingly versatile. Some mimic stone, some mimic wood, and others resemble clean, solid-color slabs.
Brands vary in thickness, durability, and pattern depth, though people often refer to them as a Formica countertop, much like using “Kleenex” to describe any tissue. It is just a habit. The main idea is that laminate gives you a luxurious look without the hefty cost of real granite or marble.
Of course, because you are dealing with paper layers under pressure and a rigid but thin protective surface, impacts can create chips, dents, scratches, or minor cracks. That is why learning how to fix them is so helpful.
Common Signs of Damage
Most people notice a chip first since it feels like a pothole in the surface. It may appear as a small crater, often with exposed brown or gray backing. However, laminate countertops can also reveal other issues.
You might spot:
- Tiny holes or missing specks near a sink or edge
- A raised seam that caught moisture
- A patch where the top coat is peeling
- A rough bit is missing after you dropped something sharp or metal
- A place where heavy stuff hits the surface too firmly
- Hairline cracks from age or heat
- A dull patch where the shine has worn down
Damage occurs for various reasons, such as high-traffic kitchens. Toddlers playing with toy hammers can cause damage, such as moving cabinets or other objects. We often find ourselves dragging objects that we should have lifted. We have all been there.
The good thing is, most of these can be managed with the right approach.
Tools and Materials You’ll Need
You do not need a workshop to handle this repair. You need the basics. A simple repair kit typically includes the essentials, although individual items can be purchased at a hardware store.
Here is what you should gather:
- A repair kit designed for laminate
- Filler putty or epoxy
- Small bottles of paint for color matching
- A small spreader or plastic scraper
- Sandpaper, ideally fine-grit
- A small brush or cotton swabs
- Paper towels
- A little patience, which is not sold in stores, but is very useful
If you pick up a kit, you get most items pre-selected. Some people enjoy customizing their tools, though, especially when their countertop pattern is unique.
Step-by-Step Guide to Fixing Laminate Countertop Chips
The real process is below. I have done this myself at home. I remember looking at the damage and thinking, I hope this procedure works. And it did, though my first attempt was not perfect. I almost made the chip too flat, but you live, you learn. Here is the refined version I wish someone had told me earlier.
1. Clean the Damaged Area
Start by cleaning the countertop. You do not want dust, cooking oil, or crumbs mixing with the filler. Use warm water and a mild cleaner. Do not soak the area; a slightly wet cloth is enough. If you have recently moved in and the area is covered with stains and dirt, it would be advisable to contact experts for granite cleaning in Chicago to assist with your needs.
Let it settle for a minute or two so the surface dries completely. The cleaner you start, the better the repair looks in the end.
2. Smooth the Edges of the Chip
You want the damaged edge to be clean, not jagged. Grab a bit of fine sandpaper and gently smooth the rim around the chip. Do not overdo it. You want to remove loose fragments so the filler can sit more securely and deeply.
A smooth edge makes blending easier later and helps the surface turn out flush.
3. Apply Laminate Filler or Epoxy
Now comes the part people get nervous about. Honestly, it is not that bad.
Take your filler or epoxy and carefully fill the chip. Your steady hand helps here. A toothpick works surprisingly well if you need extra control.
The goal is to overfill the space by a tiny bit. Not too much. The goal is to fill the space just enough so that you can sand it smooth later without creating another dip. If you purchased a multi-bottle repair kit, follow the instructions for mixing the two-part epoxy.
Ensure the kit is purchased from a reliable brand, since cheaper ones sometimes peel or discolor.
4. Let It Dry Completely
This part takes a little patience.
Let the coat dry fully. Some products dry in 30 minutes. Others need a few hours. Please refer to your repair kit instructions for the precise timing.
Please do not touch it. Do not poke it. Do not run your finger over it just to check. I have done that before and had to redo the whole job. It’s simply not worth the effort.
5. Sand the Area for a Smooth Finish
Once the filler is dry, gently sand the surface to smooth it out. Start with a light touch. You want it level and flush with the surrounding laminate, not scratched beyond recovery.
Check the texture with your fingertip. When it feels almost seamless, stop. You can always sand a little more, but you cannot unsand a terrible mistake.
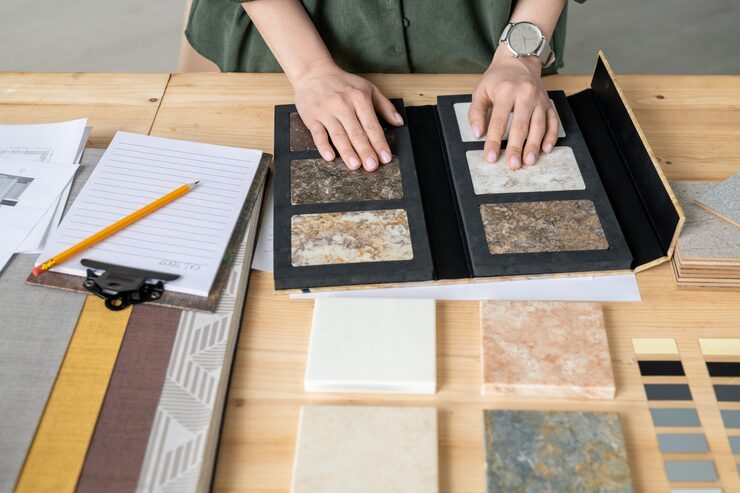
6. Color Match and Seal (If Needed)
This is the crucial step that distinguishes a mediocre repair from an exceptional one. Most laminate countertops feature patterns, including speckles, streaks, dots, and grainy textures. You want your patch to blend in.
Use the paint from your repair kit to match the tone. This may require a steady hand and possibly a small brush. Dab lightly. Layer slowly. This phase is where you really repair the visual damage.
After you finish, add a thin seal if the kit recommends it. This step protects the color and helps the patch last longer.
Let everything dry. Again.
7. Polish and Restore the Shine
Once your coating is tight and stable, polish the surface with a gentle cleaner. Not too much. You are just restoring a little shine so the spot blends with the older finish. To ensure it is done right, let experts take care of marble polishing in Chicago!
At that moment, when you step back, you realize that you are actually quite glad to have done this yourself.
When to Replace Instead of Repair
Not every chip should be patched. Some damage is beyond the scope of a simple repair kit. You might need to replace the whole countertop if you notice:
- Large cracks are spreading across the surface
- Moisture swelling near the sink or seams
- Repeated chips forming in the same area
- Severe damage that exposes too much backing material
- Heat deformation
- Or a general surface breakdown from age
In some cases, replacing something initially looks expensive, but it saves money in the long term. You can only patch so many places before you feel like you are running a production line of repairs.
If you decide to visit a specialty shop or explore services online, be sure to check reviews and compare multiple locations. A friend can sometimes point you in the right direction, too.
Conclusion
Learning how to fix a chip in a laminate countertop is one of those small homeowner skills that instantly makes you feel more capable. You look at that tiny chip, gather your repair supplies, and suddenly the problem feels manageable, rather than stressful. Laminate countertops look excellent, but like anything in the house, they require a little attention from time to time.
With the right repair kit, a little patience, and a steady hand, you can typically resolve most issues without needing a professional.
Ultimately, a minor repair can significantly enhance the ambiance of your kitchen. It is a quick win. The outcome is a minor triumph. And honestly, once you see how simple the process is, you might even hope for more tiny projects around the house. Maybe not too many, but just enough to remind yourself you can handle these things.