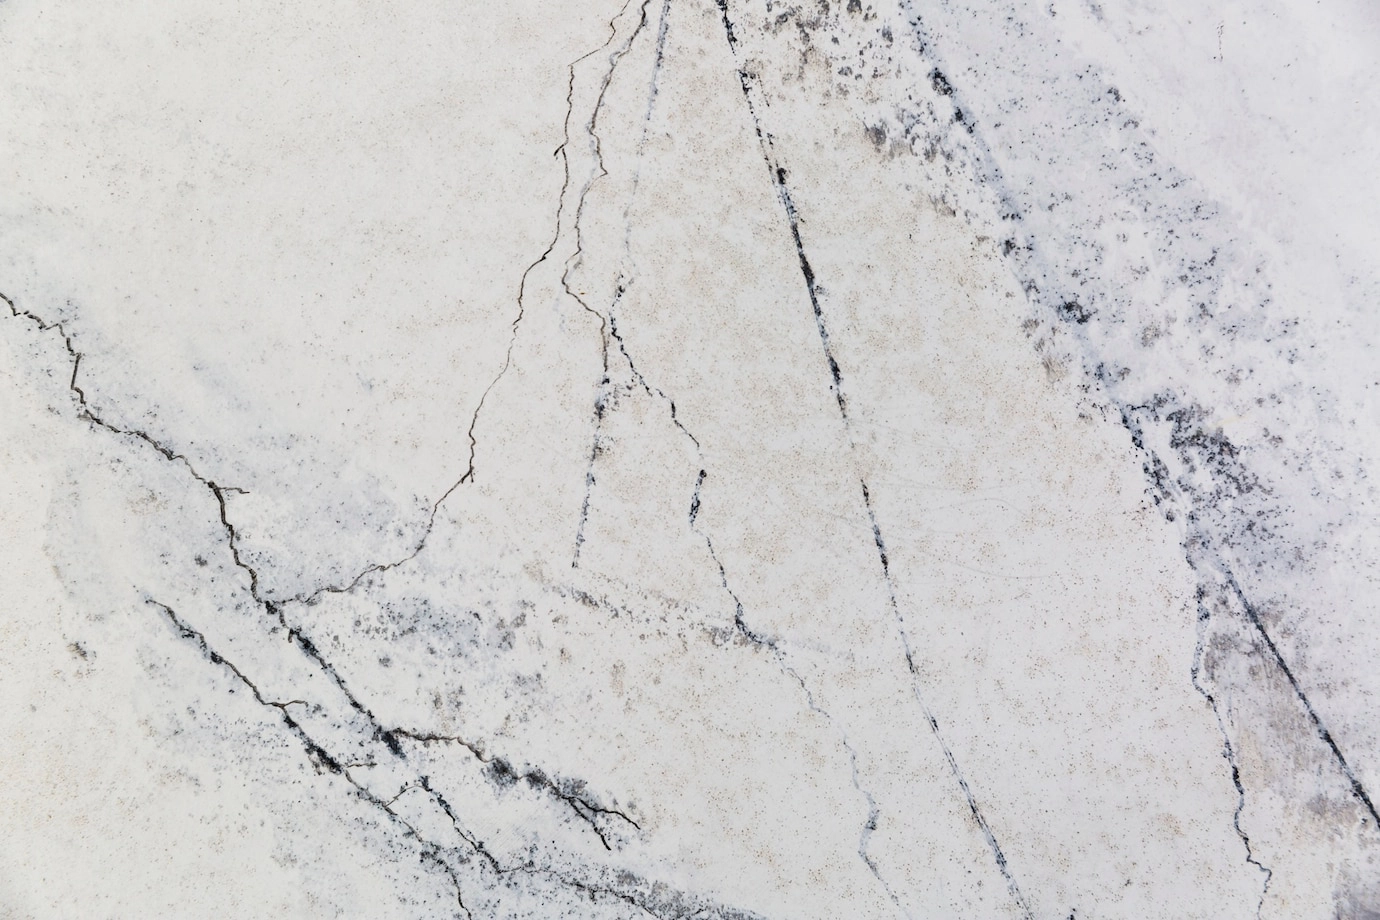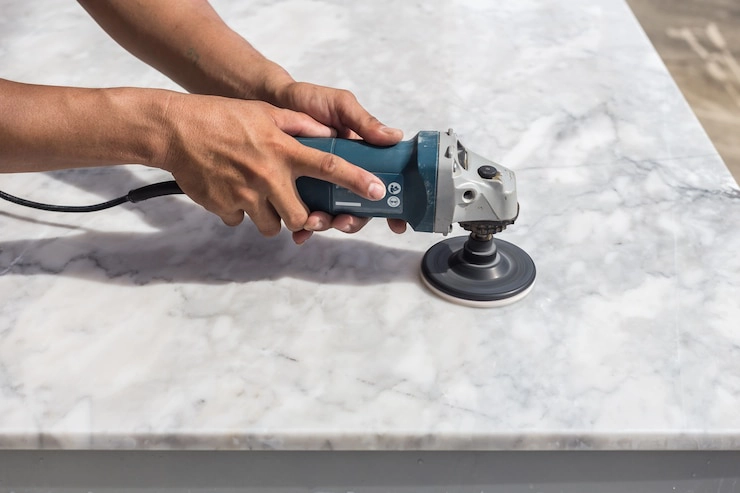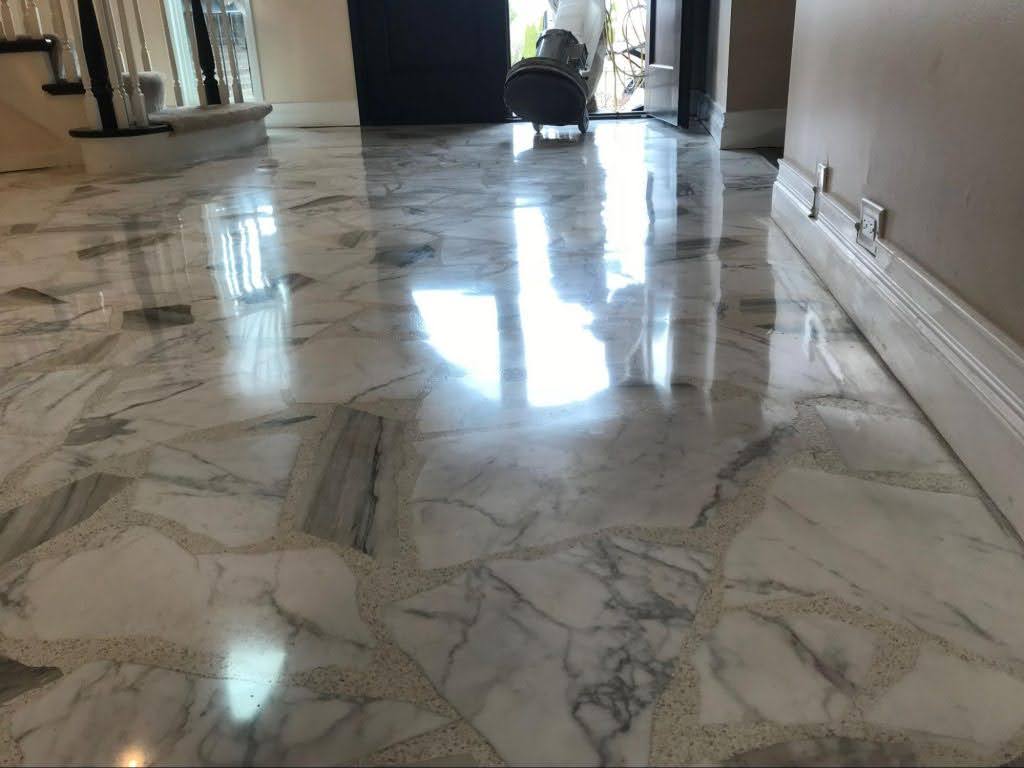
Quartz countertops are engineered, sturdy, and designed to last for years. But despite being tough, they’re also prone to breaks and cracks. Just like marble or granite countertops, low-quality materials, poor build, temperature changes, etc., can crack these non-porous surfaces.
But the good news is that you can fix them in a few simple steps. Let’s first clarify our basics, and then we’ll see what these steps are.
Reasons for Quartz Countertops Cracks
There can be multiple culprits behind those cracks on your quartz countertop. Let’s look at a few.
Sudden Temperature Changes
Quartz countertops are tough but not entirely heat resistant. Extreme temperature shifts can still cause trouble.
Placing a hot pan straight from the stove onto the surface can shock the material. That sudden heat causes expansion, which leads to internal stress.
Over time, this stress may turn into visible cracks. Always use trivets or heat pads. It’s a simple step that saves you from expensive repairs. Quartz can handle daily use, but thermal shock is one of its few weak spots.
Physical Impact
A quartz countertop might look solid and durable, but a heavy object dropped from above can do serious damage. Cast iron pots or large appliances are a few things on this list.
One strong hit in the wrong spot can cause a crack or chip, especially near the edges or sink area, as those are the pressure points. The material resists minor cracks, but repeated force or sudden impact is a risk.
Being a little careful during kitchen tasks goes a long way.
Structural or Installation Issues
Improper installation can quietly set your quartz countertop up for failure. If the cabinets underneath aren’t level or well-supported, the weight of the quartz won’t distribute evenly. Over time, this stress builds up and forms cracks.
Likewise, skipping support brackets near overhangs or sink cutouts weakens the structure. Quartz needs a solid foundation. That’s why professional repairs and installation are more about long-term durability than just looks.
Lower Quality Materials
Every quartz countertop offers different levels of durability. Lower quality slabs may have air pockets, weak bonding agents, or uneven resin distribution. These flaws weaken the material from within as cracks appear faster, especially under pressure or heat.
Cheaper options might save you upfront, but they can cost more in repairs down the line. When choosing quartz, check the brand reputation and warranty. Quality matters here, especially when it’s going to live in your kitchen for years.
Tools and Materials Required for Quartz Countertop Crack Repair

Fixing a crack in your quartz countertop is a skill game. But those skills are pointless if you don’t have the right tools. You can make the repair look smooth and almost invisible with a few carefully chosen items.
Let’s see what you need to do this job right.
Adhesives
This is the heart of the repair. You’ll need a high-quality, clear epoxy or resin made explicitly for stone surfaces. Some cracks may need a two-part epoxy that hardens when mixed.
For better results, choose an acrylic adhesive that offers a strong bond and dries hard with thin layers. If your quartz is colored or patterned, choose an adhesive that allows tinting to help it blend better.
Sandpaper
Once the acrylic adhesive forms thin layers, you’ll need fine sandpaper to smooth the surface. Start with 400 grit and move up to 1000 grit or more.
Lower grit can scratch your quartz countertop, so go easy. Sanding helps level out the repair and brings back that clean, polished finish, which professionals aim for during floor refinishing in Chicago.
Cleaning Agents
A clean surface is a must before applying adhesive. Though the best bet is to hire expert quartz or granite cleaning services, if you love DIYing, you’ll need mild dish soap, warm water, and rubbing alcohol.
Dish soap removes grime while rubbing alcohol with gentle cleaning sponges clears away grease or leftover residue. Any dirt trapped in the crack can weaken the bond or make the repair uneven, so don’t skip this step.
Masking Tape
This is your clean-up assistant. Apply masking tape around the crack to keep excess adhesive from spreading onto the rest of the surface. It makes the repair process cleaner. Once the glue is in place, just peel the tape off before it dries.
Toothpick, Razor Blade, or Paintbrush
To apply the adhesive into the crack, you’ll need something small and precise. A toothpick works well for narrow gaps.
For slightly wider ones, a thin paintbrush or the edge of a razor blade gives more control. These tools help you apply the adhesive exactly where it’s needed. No mess and waste.
Quartz Dust
If you want the repair to blend in perfectly, quartz dust is your best bet. It’s often collected during installation or sanding. Mix a pinch into your adhesive to match the original countertop color and texture. Once dried, it fills tiny gaps and makes the crack nearly invisible.
With these tools in hand, you’re set up for success. The key is patience, precision, and a little preparation.
Steps to Repair a Crack in Your Quartz Countertop
Repairing a crack in your broken quartz countertop needs steady hands, patience, and the right tools. Do you have that? Then go on and follow these steps.
Clean the Area
Before doing anything else, clean the cracked area thoroughly. Dust, oil, or food particles can prevent the adhesive from bonding properly.
Here’s how to do it right:
- Wipe the horizontal or vertical surface with a soft cloth soaked in a mild dish soap and warm water.
- Scrub gently to remove any grime or residue.
- Rinse with clean water and dry with a lint-free cloth.
Once that’s done, use rubbing alcohol on a cotton ball or paper towel to remove leftover grease. Let the area air dry completely. The surface must be dry, clean, and free of debris. Skipping this step can lead to weak repairs.
Prepare the Adhesive
Choosing the right adhesive is paramount. Most quartz cracks can be fixed using a clear epoxy or color-matched resin. You want something strong, durable, and as invisible as air.
Follow these steps:
- Read the adhesive instructions carefully. Some epoxies need to be mixed from two parts.
- If you’re using a dual-syringe epoxy, dispense it onto a disposable surface like cardboard. Mix evenly using a toothpick or stir stick.
- To blend with your entire countertop color, add quartz dust or a small amount of pigment during the mixing process. Just a pinch will do.
Your mix has to be smooth, lump-free, and ready to apply. Once prepared, work quickly. Most adhesives have a short window before they begin to harden.
Apply the Adhesive
Now comes the hands-on part. Applying the adhesive needs patience and a steady hand. Here’s how to do it:
- Use a toothpick, razor blade, or fine paintbrush to fill the crack with adhesive carefully.
- Work slowly and press the mixture deep into the crack so it bonds from within, not just on the surface.
- Don’t overfill it. Just enough to fill the gap and flush it with the surrounding quartz stone.
To keep things neat:
- Place masking tape along the edges of the crack before applying the glue. This prevents overflow and saves cleanup time.
- If the crack runs close to the edge or sink, apply extra caution to avoid dripping excess glue in unwanted areas.
Once filled, lightly scrape away any excess using a razor blade held flat against the surface. Don’t worry about perfection at this point. You’ll fine-tune it during the finishing steps.
Cure and Smooth
After applying the adhesive, let it cure properly. This step matters as much as the repair itself.
- Follow the product’s curing time. Some need 24 hours, others longer.
- Don’t touch or disturb the area while it sets. Even small movements can ruin the bond.
Once fully cured, gently sand the repaired area with fine-grit sandpaper (start around 400 grit and move up if needed). Use light, circular motions. The goal is to smooth the surface without scratching the surrounding quartz stone. Wipe away dust frequently to track your progress.
This part takes some patience but helps the patch blend in better. If done right, the repair becomes nearly invisible. And more importantly, the surface feels smooth and solid under your fingertips, just like before.
Final Touches
Time to wrap it up and bring the broken quartz countertop back to life. To finish it well:
- Wipe the area with a clean, damp microfiber cloth to remove all sanding dust.
- If your quartz has a glossy finish, consider applying a small amount of polishing compound. Use a soft cloth and work in circles to bring back the shine.
If needed, you can also apply a quartz-safe sealer over the repaired area. It’s not mandatory, but it helps protect the spot from future stains or wear.
Finally, step back and inspect your work under good lighting. If you notice any uneven spots, you can quickly resand and polish them.
And that’s it. You’re done. What once looked like a major flaw now blends into the surface. And the best part? You did it yourself without calling in a contractor.
Conclusion
Fixing a broken quartz countertop isn’t as complicated as it looks. A clean surface, steady hands, and the right adhesive go a long way. Follow the steps shared above, take your time, and you’ll restore both strength and appearance.
And if it feels tricky, calling in a pro counter top installation service is always a smart move.


